You are running a small software business that sells digital downloads – apps, plugins, or even templates. When the buyer completes the purchase, you need to provide them with a license key that they can use to activate and validate the software.
Here’s how you can implement such a licensing system in your software:
- Generate a public and private key pair using the RSA algorithm.
- Sign a message with the private key. The message contains the buyer’s email address and the software SKU.
- The signed message is the license key that is sent back to the buyer’s email address.
- When the buyer activates the software, the license key is verified using the public key.
The Advantages
The advantage here is that the public key can be included in the software’s source code, there’s no need to use a database, and the buyer can verify the license key offline without the need to connect to your server.
Let’s now go through the implementation steps in detail.
1. Generate Public and Private Key Pair

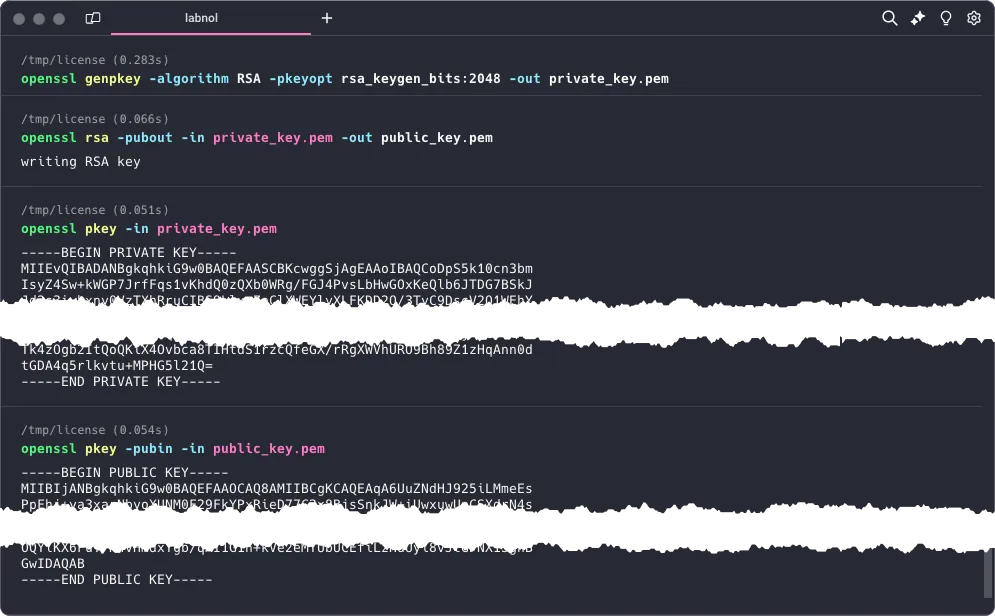
We’ll generate a public and private key pair using the RSA algorithm. Launch the terminal and run the following openssl command.
openssl genpkey -algorithm RSA -pkeyopt rsa_keygen_bits:2048 -out private_key.pemIt will generate a 2048-bit RSA private key and save it to a file called private_key.pem in the current folder. Next, we’ll write a command to generate a public key from the private key.
openssl rsa -pubout -in private_key.pem -out public_key.pemNow that we have our keys, let’s print them to the console as we’ll need them in the next step.
openssl pkey -in private_key.pem && openssl pkey -pubin -in public_key.pem2. Generate a License Key
We’ll write a simple Node.js script to generate a license key. It uses the crypto module to sign the message with the private key and the fs module to read the private key from the file system.
const crypto = require('crypto');
const fs = require('fs');

// Read private key from file system
const privateKey = fs.readFileSync('private_key.pem', 'utf8');

const buyerEmailAddress = 'amit@labnol.org';
const data = Buffer.from(buyerEmailAddress);

const signature = crypto.sign('sha256', data, {
  key: privateKey,
  padding: crypto.constants.RSA_PKCS1_PSS_PADDING
});

// Convert the signature to base64
const licenseKey = signature.toString('base64');

// Output the result
console.log(licenseKey);
3. Verify a License Key
The license key generated in the previous step is sent to the buyer’s email address and we need to verify it when the buyer activates the software.
This again is a simple Node.js script that uses the crypto module to verify the license key with the public key.
const crypto = require('crypto');
const fs = require('fs');

const buyerEmailAddress = '<<buyer email address>>';
const licenseKey = '<<license key>>';

const publicKey = fs.readFileSync('public_key.pem', 'utf8');
const signatureBuffer = Buffer.from(licenseKey, 'base64');

const licenseStatus = crypto.verify(
  'sha256',
  Buffer.from(buyerEmailAddress),
  {
    key: Buffer.from(publicKey),
    padding: crypto.constants.RSA_PKCS1_PSS_PADDING
  },
  signatureBuffer
);

console.log(licenseStatus ? 'Activated' : 'Invalid license key');
License Activation in Google Apps Script
If you are planning to include activation inside Google Workspace add-ons, you can build a Google Cloud Function or a Google Cloud Run service to handle the license activation.
Your Apps Script code can make a UrlFetch POST request to the web service with the license key and get back the activation status. In such a case, the public key need not be embedded in the script. Also, the user’s email address can be easily retrieved using the Session.getActiveUser().getEmail() method.
The Limitations
This is obviously a basic implementation of a software licensing system that doesn’t handle all the edge cases. It can be a starting point but there are many other things to consider like:
- How to set expiration dates for the license keys.
- How to revoke a license key.
- How to prevent key sharing between users.
Author
prakhar@affmantra.com
Related Posts

How to Add Speech Recognition to your Website
Table of Contents 1. Add Voice Recognition to your Website Open the Google website on your desktop computer and you’ll find a...
Read out all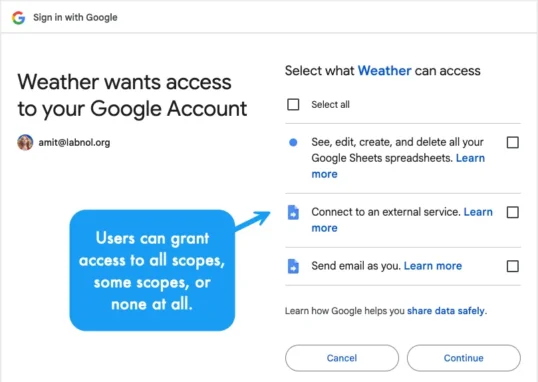
How to Handle OAuth Permissions in Google Add-ons
- 0
- 714 words
Table of Contents 1. How to Check for Required OAuth Scopes 1.1 The “Authorization Catch-22” Problem 1.2 How to Reset the Permissions...
Read out all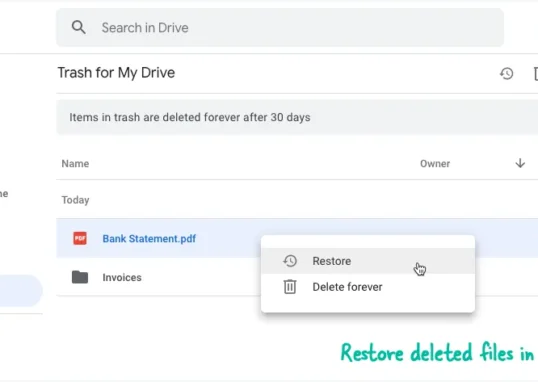
How to Recover Permanently Deleted Files and Folders in Google Drive
- 0
- 326 words
Table of Contents When you delete any file or folder in your Google Drive, it is moved to the trash folder. The...
Read out all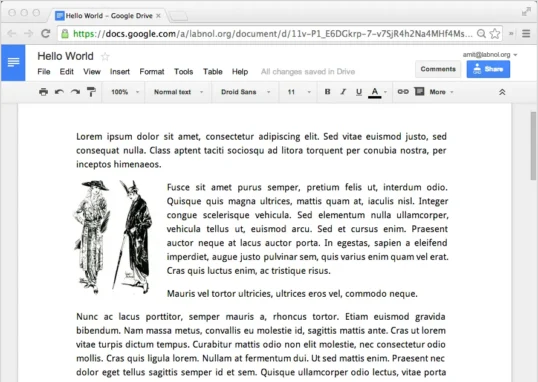
Simple URL Tricks for Google Drive You Should Know
- 0
- 374 words
Table of Contents 1. Google Drive URL Tricks 1.1 Google Drive Web Viewer 1.2 Reader Mode for Google Drive Files 1.3 Embed...
Read out all
How to Extract URLs from HYPERLINK Function in Google Sheets
- 0
- 201 words
The HYPERLINK formula of Google Sheets lets you insert hyperlinks into your spreadsheets. The function takes two arguments: The full URL of...
Read out all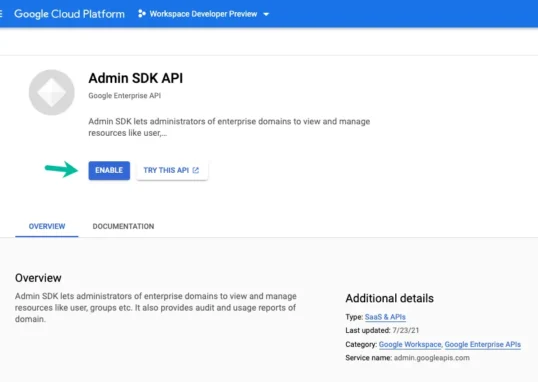
Find and Remove Inactive Users in your Google Workspace Domain
- 0
- 388 words
Table of Contents 1. Find the inactive users in Google Workspace domain You can use Google Apps Script to find all the...
Read out all