This step-by-step tutorial describes how you can connect to the Gmail SMTP server for sending emails from a Node.js web application that could be deployed on Google Cloud Functions, AWS Lambda, Cloud Run or running on your local machine.
And unlike most other Node SMTP tutorials that use the username and password combination, this approach uses OAuth and doesn’t require you to turn on less secured apps access in your Google account.
Create Gmail OAuth Credentials
Create a new Google Cloud Project and enable the Gmail API as described in a previous tutorial.

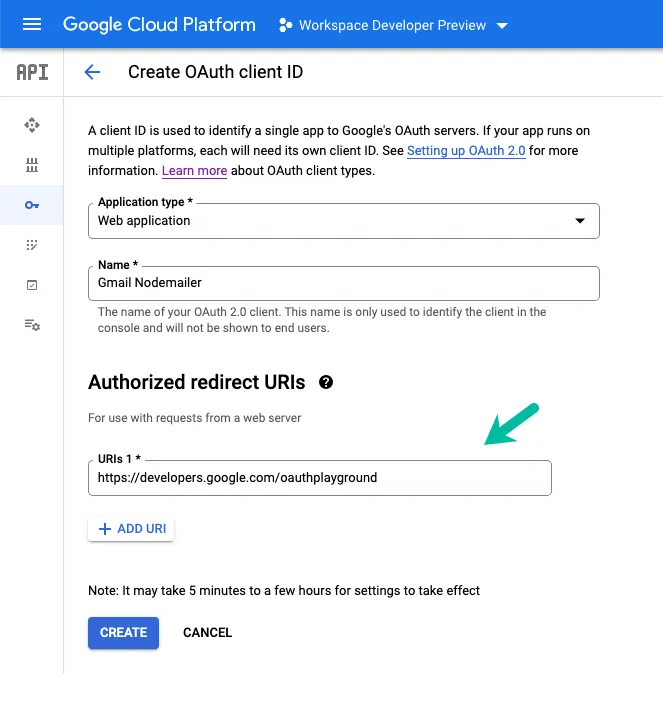
In the APIs & Services section, click on Credentials and click on Create credentials > OAuth Client Id to create a new client ID that will be used to identify your application to Google’s OAuth servers.
Set the application type as Web Application and put the following URL in the Authorized Redirect URI.
https://developers.google.com/oauthplaygroundClick the Create button and you’ll be provided the OAuth Client ID and Client Secret values that you’ll need in the next step.
Create Gmail Refresh Token
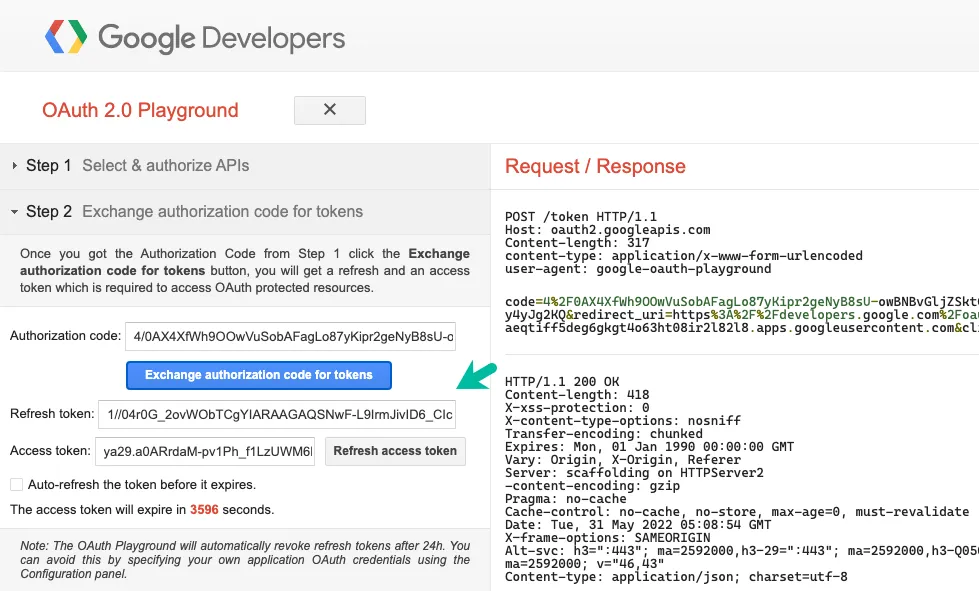
Next, we’ll generate a refresh token using the Google Developer OAuth 2.0 playground. The access tokens are valid for an hour but the refresh tokens stay valid forever (unless manually revoked) and can be used to generate a fresh access token.
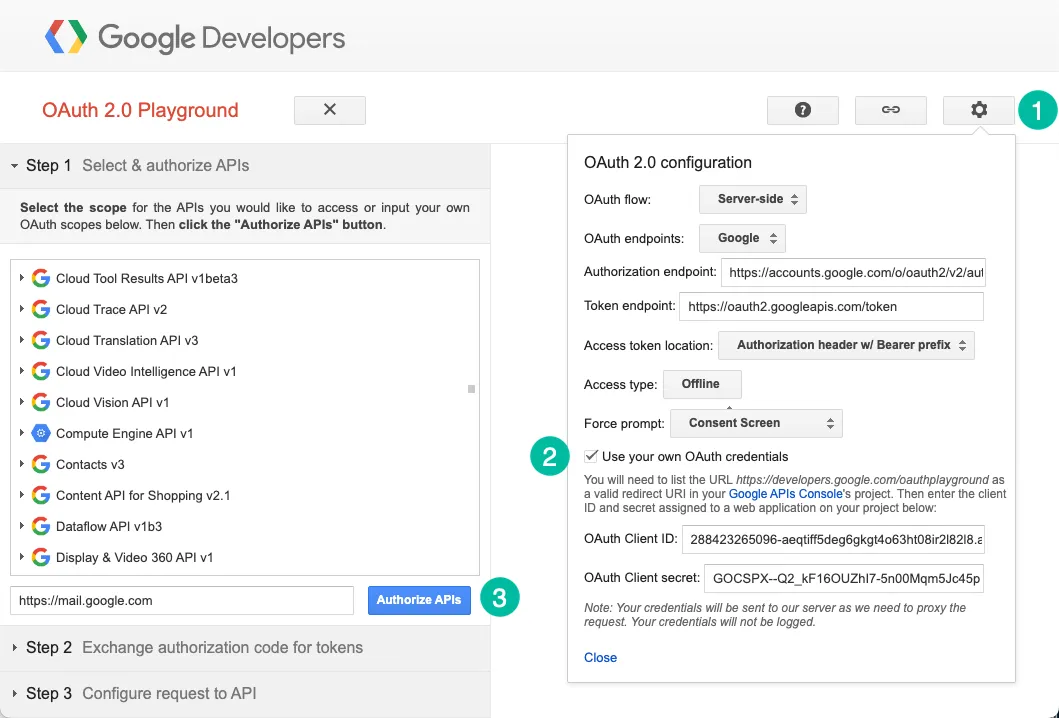
Go to google.com/oauthplayground, click the Gear Icon and check the option that says Use your own OAuth credentials. Copy-paste the Client ID and Client Secret that you have generated in the previous step.
Inside the Select & Authorize APIs section, enter the scope https://mail.google.com and click the Authorize APIs button to generate the authorization code.
Click the Exchange authorization code for tokens to generate the refresh token that we’ll require in the next step.
Prepare the Node.js Application
Create a new folder and install the googleapis and nodemailer packages.
mkdir gmail-smtp-sender
cd gmail-smtp-sender
npm init --y
npm install dotenv googleapis nodemailer --save
touch index.js
Create a new .env file in the root folder and add the credentials in the file. Add the file to .gitignore so it is not added to the repository.
// Replace these with your own credentials
CLIENT_ID = 'r2l82l8.apps.googleusercontent.com'
CLIENT_SECRET = 'GOCSPX-5n00Mqm5Jc45p'
REFRESH_TOKEN = '1//04yt8hEatvIr3uyk-ZJSYIhmYqMk4C4EqfPK24w'
REDIRECT_URL = 'https://developers.google.com/oauthplayground'
Open the index.js file and add the following code. You may need to replace the sender’s email with the email address of your own Gmail account that you have authorized to send email.
The Gmail SMTP server name is smtp.gmail.com and the Gmail SMTP port is 465. You can send up to 100 emails per day when the messages sent via SMTP.
const { google } = require('googleapis');
const nodemailer = require('nodemailer');
require('dotenv').config();
const sendEmail = async () => {
const oauth2Client = new google.auth.OAuth2(
process.env.CLIENT_ID,
process.env.CLIENT_SECRET,
process.env.REDIRECT_URL
);
oauth2Client.setCredentials({ refresh_token: process.env.REFRESH_TOKEN });
const accessToken = await oauth2Client.getAccessToken();
const myEmail = 'amit@labnol.org';
const smtpTransport = nodemailer.createTransport({
service: 'gmail',
host: 'smtp.gmail.com',
port: 465,
secure: true,
auth: {
type: 'OAuth2',
user: myEmail,
clientId: process.env.CLIENT_ID,
clientSecret: process.env.CLIENT_SECRET,
refreshToken: process.env.REFRESH_TOKEN,
accessToken
}
});
const mailOptions = {
from: 'Sender Name <amit@labnol.org>',
to: 'Receiver Name <hello@example.com>',
subject: 'Test email 🚀',
text: 'This is a test email from Node.js 🎉',
html: 'This is a <b>test email</b> from Node.js 🎉'
};
try {
const response = await smtpTransport.sendMail(mailOptions);
console.log(`Email sent!`, response);
} catch (f) {
console.error(f.message);
} finally {
smtpTransport.close();
}
};
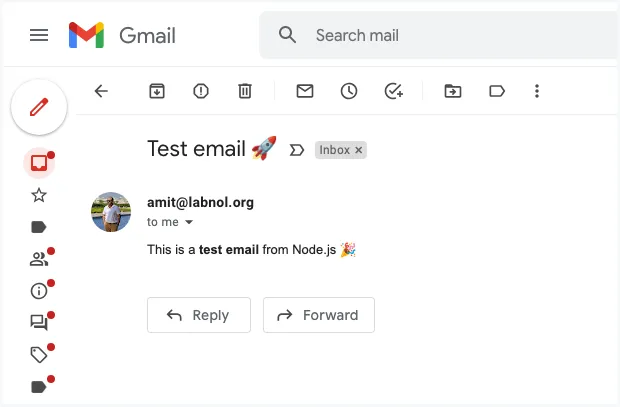
sendEmail().then(() => console.log('Done!'));Here’s a test email sent by the application. If the email receiver client doesn’t support HTML mail, the plain text version is rendered.
Correct Gmail OAuth Scope
While you can send emails from Gmail using the https://www.googleapis.com/auth/gmail.send scope, you would need to use the restricted https://mail.google.com/ scope for Gmail SMTP. If your OAuth client uses a different scope when requesting permissions for an user, the application will return the 535-5.7.8 Username and Password not accepted error.
Author
prakhar@affmantra.com
Related Posts

How to Add Speech Recognition to your Website
Table of Contents 1. Add Voice Recognition to your Website Open the Google website on your desktop computer and you’ll find a...
Read out all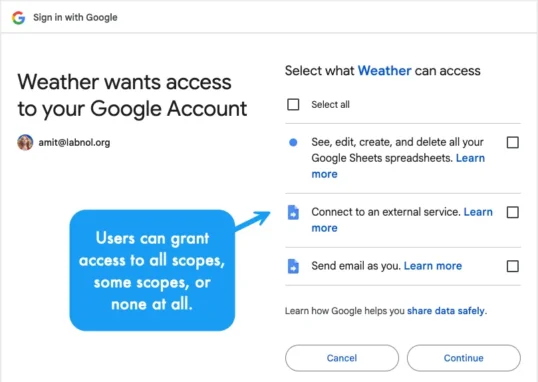
How to Handle OAuth Permissions in Google Add-ons
- 0
- 714 words
Table of Contents 1. How to Check for Required OAuth Scopes 1.1 The “Authorization Catch-22” Problem 1.2 How to Reset the Permissions...
Read out all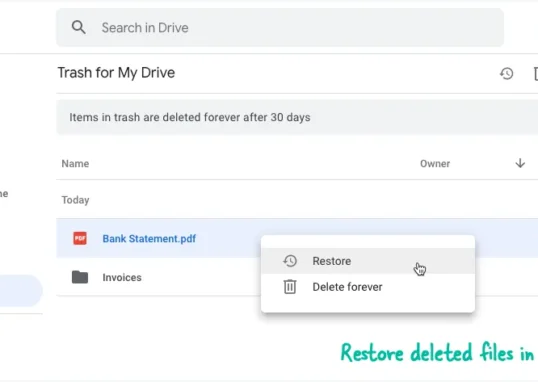
How to Recover Permanently Deleted Files and Folders in Google Drive
- 0
- 326 words
Table of Contents When you delete any file or folder in your Google Drive, it is moved to the trash folder. The...
Read out all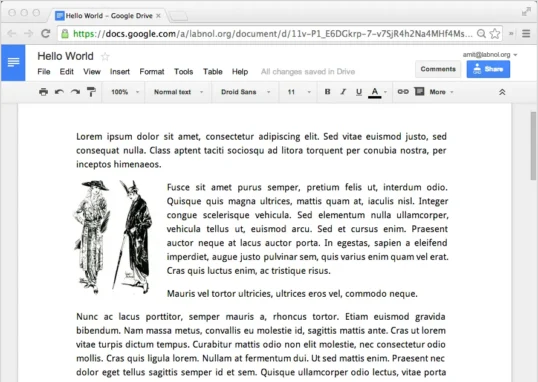
Simple URL Tricks for Google Drive You Should Know
- 0
- 374 words
Table of Contents 1. Google Drive URL Tricks 1.1 Google Drive Web Viewer 1.2 Reader Mode for Google Drive Files 1.3 Embed...
Read out all
How to Extract URLs from HYPERLINK Function in Google Sheets
- 0
- 201 words
The HYPERLINK formula of Google Sheets lets you insert hyperlinks into your spreadsheets. The function takes two arguments: The full URL of...
Read out all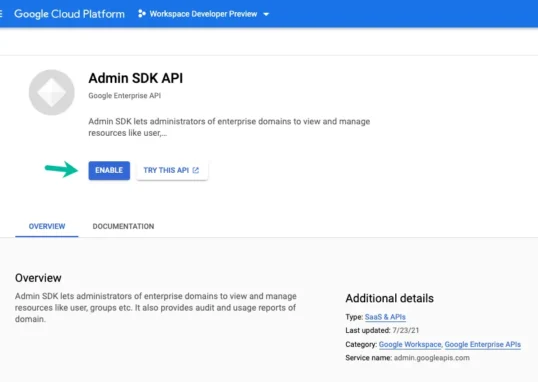
Find and Remove Inactive Users in your Google Workspace Domain
- 0
- 388 words
Table of Contents 1. Find the inactive users in Google Workspace domain You can use Google Apps Script to find all the...
Read out all