The Mail merge add-on lets you send personalized emails to multiple recipients in one go. The emails are always sent via your Gmail account or your Google Workspace email address. Google also imposes a limit on the number of emails you can send per day.
Mail Merge with SMTP
Mail merge is convenient because you can put your contacts in a Google Sheet and the add-on will individually send the emails for you. However, if you aren’t using Gmail or have a large mailing list, an SMTP service like SendGrid or AWS may be more a suitable option for sending out personalized emails.
Wouldn’t it be nice if you could enjoy the ease of the Mail Merge add-on while still utilizing an SMTP service to send personalized emails? That’s where the Document Studio add-on can help.
Generate SMTP Credentials
Google for SMTP settings for [your email provider] and you’ll find the SMTP server address, port number, and the authentication details like the username and password (or API key) for your email service.
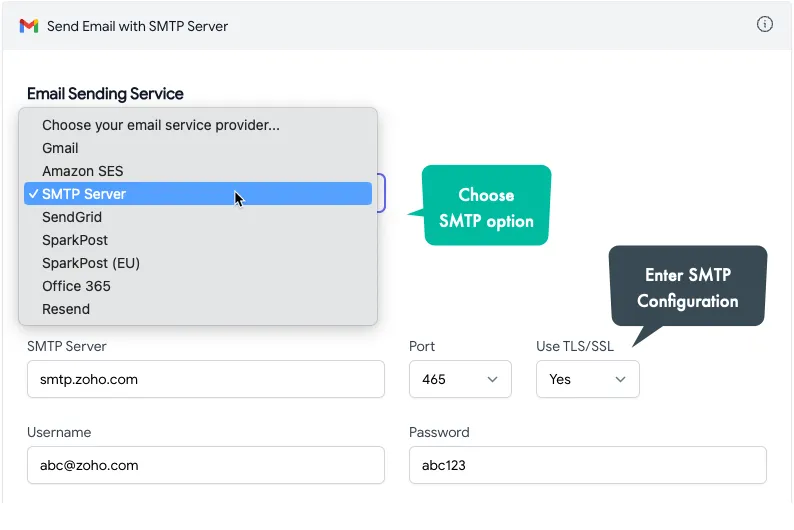
For instance, if you plan to use Zoho Mail for mail merge, the SMTP settings would be as follows:
- SMTP Server: smtp.zoho.com
- Port: 465
- Username: Your Zoho account email address
- Password: Your zoho.com password

Prepare Mail Merge Data
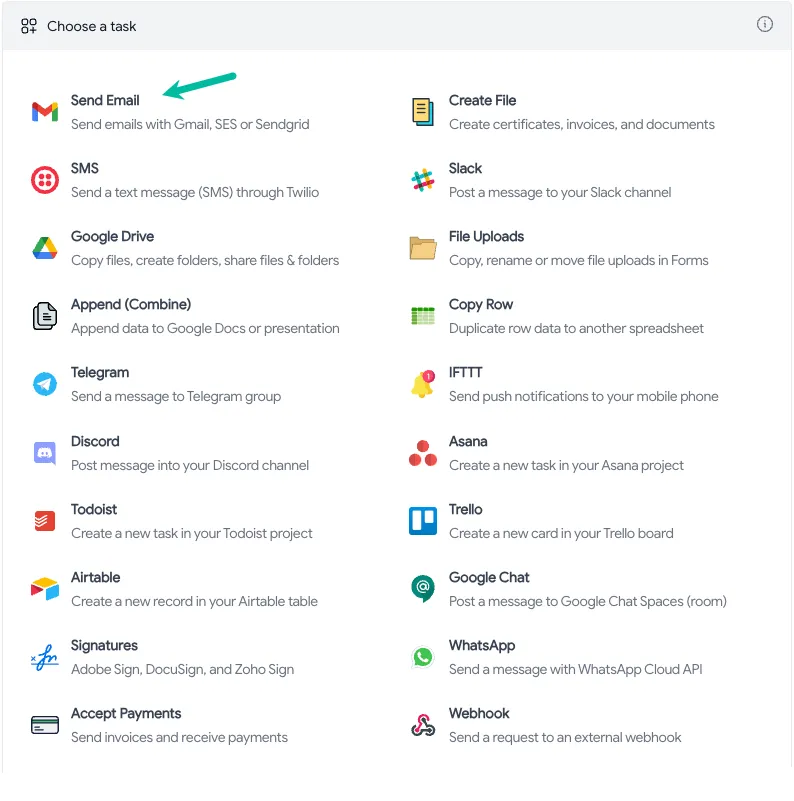
Open the Google Sheet with your mail merge data and launch the Document Studio add-on. Create a new workflow and choose the Send Email task.
From the list of Email Service providers, choose SMTP Server and enter the SMTP server address, port number, and the authentication details that you found in the previous step.
Next, move to the Email Message section and configure your email template. You can use placeholders like {{First Name}} and {{Title}} in the message body and subject line to personalize the emails.
If you would like to attach files to the email, you can do that as well. You may attach the same file to all emails or use placeholders to attach different files to each email.
Click the Preview button and you should see a sample email sent to your own email address through the SMTP server. You can now click the Save and Run button to send personalized emails to all recipients in your Google Sheet.
Author
prakhar@affmantra.com
Related Posts

How to Add Speech Recognition to your Website
Table of Contents 1. Add Voice Recognition to your Website Open the Google website on your desktop computer and you’ll find a...
Read out all
How to Handle OAuth Permissions in Google Add-ons
- 0
- 714 words
Table of Contents 1. How to Check for Required OAuth Scopes 1.1 The “Authorization Catch-22” Problem 1.2 How to Reset the Permissions...
Read out all
How to Recover Permanently Deleted Files and Folders in Google Drive
- 0
- 326 words
Table of Contents When you delete any file or folder in your Google Drive, it is moved to the trash folder. The...
Read out all
Simple URL Tricks for Google Drive You Should Know
- 0
- 374 words
Table of Contents 1. Google Drive URL Tricks 1.1 Google Drive Web Viewer 1.2 Reader Mode for Google Drive Files 1.3 Embed...
Read out all
How to Extract URLs from HYPERLINK Function in Google Sheets
- 0
- 201 words
The HYPERLINK formula of Google Sheets lets you insert hyperlinks into your spreadsheets. The function takes two arguments: The full URL of...
Read out all
Find and Remove Inactive Users in your Google Workspace Domain
- 0
- 388 words
Table of Contents 1. Find the inactive users in Google Workspace domain You can use Google Apps Script to find all the...
Read out all